the ground box, step 1
The ground of our scene will be built from a simple box object, which we create using the tool box.
Step 1: Click on the box icon in the second section of the tool box,
this is the first icon in this section. If you are unsure
simply wait for the tool tip to appear, then browse through the
buttons until the tool tip reads "create Box".
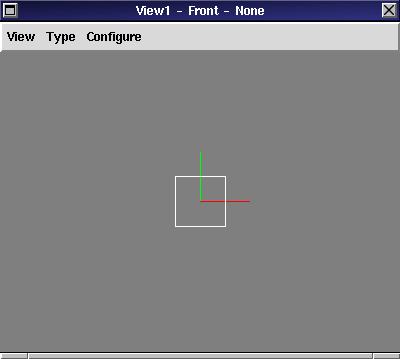
Your view should now display a box like in figure 5:

the ground box, step 1
This box (shaped like a cube) is surely not suitable as ground.
We change its shape to a large flat slab using the
Transformations property of this object:
Step 2: Go to the main window and click on
Transformations in the properties listbox.
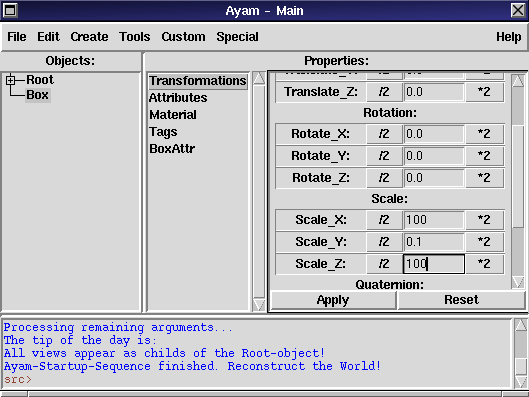
Step 3: Change the entries for "Scale_X", "Scale_Y", and
"Scale_Z" to "100", "0.1", and "100" respectively.
You may have to scroll
the property GUI down to see the scale entries. You may
jump from one entry to the next using the <Tab> key.
The main window should now look like in figure 6:

scaling using the transformations property
Step 4: Press the "Apply" button.
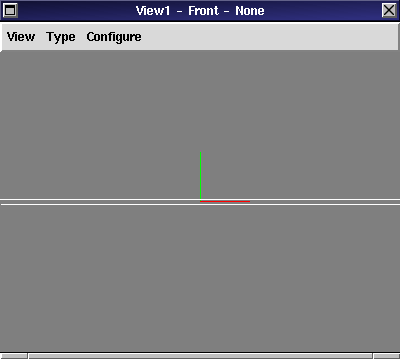
The view should display an image like figure 7 (we are looking at the
slab from a side):

the ground box, step 2