creating a material object
Now we will add a material to the sphere to make it "wooden".
Step 1: Go back to the main window.
Make sure that the sphere object is still selected,
so that the new material will be associated with it.
Now create a material object using the menu entry
"Edit/Material" (you can also use the keyboard shortcut
<Ctrl+m>).
A dialog box (see figure 10) will pop up, asking you for a name for this
new material object; enter "wood" and press the "Ok"-button:

creating a material object
Step 2: The newly created material object will immediately be
selected and display its properties in the properties listbox.
Select the
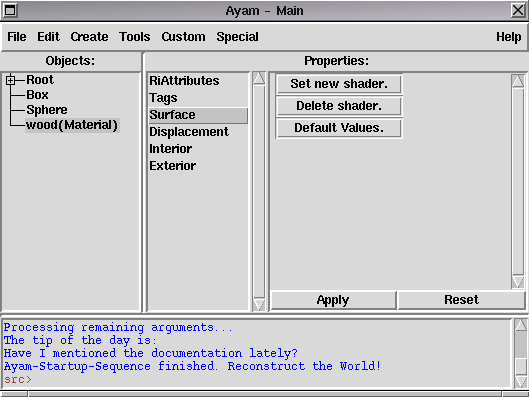
"Surface" entry in the properties listbox.
A new property GUI appears, as displayed in figure 11:

setting a surface shader
Step 3: Click on the "Set new Shader." button
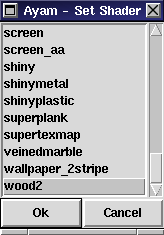
in the property GUI. A listbox pops up, see figure 12:

shader selection popup
(If your listbox is displaying no entries at all you probably have not set up Ayam properly, please go back to section Setting up Ayam.)
Step 4: Select the "wood2" entry in the listbox,
it is probably the last one, so you have to scroll down.
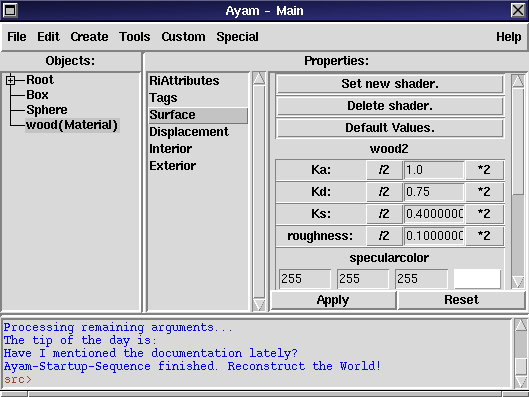
Now press "Ok". The property GUI changes again; it displays
a lot of entries now, that are the parameters of the shader
"wood2" as shown in figure 13:

the wood2 shader
But we do not need to change anything here.
Step 5: Press the "Apply" button.
We do not need to set a material for the box, as the default material
in Ayam is "matte", which is sufficient for this tutorial.