perspective view
Rendering a scene includes setup of the camera and invoking the final renderer.
Step 1: Switch the type of the view window to
"Perspective" using the shortcut <Ctrl-p>.
The view changes as displayed in figure 16:

perspective view
We start a first test rendering now.
Step 2: Start the BMRT-OpenGL previewer (rgl) using
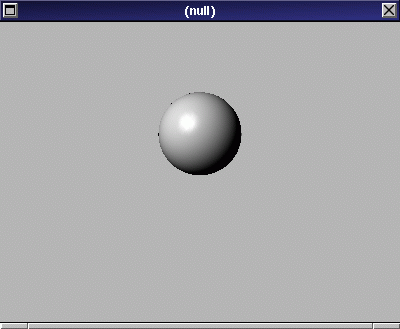
the shortcut <Ctrl-r>. The result should look like
figure 17:

rgl preview
(If Ayam now complains about rgl not being found, BMRT is not set
up correctly. Please read and execute the BMRT installation instructions
again, then return here.)
As you can see, the sphere is a bit too small and not centered.
We will fix this now.
You can get rid of the preview window using the <Esc> key.
Step 3: Select the sphere in the main window.
Step 4: Go back to the view and press
<Ctrl-o>.
This shortcuts changes the parameters of a view so that it displays
the center of the selected objects and adapts the zoom factor
of the view so that the selected objects are well sized.
Step 5: Start the BMRT-raytracer (rendrib) using the
shortcut <Ctrl-R> (note the capital r; you have to press
Control, Shift, and r simultaneously!).
You have to wait a bit until the renderer finishes the image
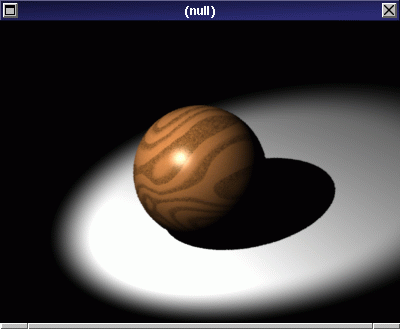
as displayed in figure 18:

final rendering
All done!
Your homework for today:
Make the lighting in this image more interesting with a spotlight. Here is what to do (the tutorial should have teached you how to execute the following tasks):
"Spot"."Intensity" to "150" and its "ConeAngle"
to "15"."Side",
then move the light using an
interactive modeling action so that it lights the sphere
(the arrow of the light source should point directly onto the sphere
when you are finished).
If you do not move the light, it will probably be located inside
the box and not be able light anything!

homework